We live in a world where content is is readily available at our fingertips. Most people carry around devices that contain more technology and computing power than the first astronauts used to get into space and to the moon. Surely we can do something pretty cool with them, Right? As it turns out there is a lot you can do, If you know where to start.
Let’s talk about 3 things I learned to do with my google pixel 3 that will help me create content.
Blogging:
I started my website with Squarespace because it seemed to get started but had all of the advanced technologies under the covers. I also like that the templates already adjust your content to fit a multitude of devices. One day, on a whim, I pondered if I could edit my site from my phone. I was delighted to find out that there was an iPhone app already available. I was sad to hear that the Android version was “coming soon” . Lucky for me there was a beta version available that I immediately signed up for. Who knew that my early career as a software tester would aid me in something fun in my personal life! I was in the beta for like a week before the app was released to the play store.
The app has all of the features I think it needs. I can post create and publish blog posts. I can even make some edits to genera page contents. The best feature, In my opinion, is the ability to post images directly to my galleries. All of the pictures I take come from my cell phone so the ability to post them to my site is amazing.
While we are on the subject of pictures.
Photo/Video Editing:
The camera on the pixel 3 is one of the best out there, according to all the Tech YouTubers I watch (on my phone while standing in line or sitting on the “throne”). I may not be an expert on cell phone camera’s but I do like the pictures and videos I’m able to get with this phone. I also like that I can do some light editing on the go with the built in photos app. I know there are some better and fancier apps out there but I don’t actually have the know how to use them (yet).
One really cool and free app I found out about for video editing is Quik. Quik is a simple video editing app from the folks at GoPro. I’ve never owned a GoPro but after using this app, I may just put it on the Christmas wish list. Just loading a video I’d shot on my phone generated a pretty interesting short video. The app used some internal algorithms to put together something interesting and even picked some music to go with it. I of course said “no thanks” to that and started to make it my own.
First thing I did was dump the template musical selection. I make music so this sound track will be furnished by me. Also since it’s my song I don’t have to worry about copyright strikes! (Bonus!). Next, there is a highlight feature that would make sure certain sections of the video are played while others are skipped. Using this I was able to pick out the 3 or 4 moments I wanted out of a 5 minute video of my boys just being goofy. I was also able to add some still images, Title screens, and other videos to the mix and it was able to come up with cool transitions that matched pretty well with the downbeats of the song.
I’ve been trying to get a handle on Lightworks and Resolve for video editing and I don’t think I could even come close to what this app did in just 10 minutes of “messing around”. Don’t get me wrong I’m sure that with either of those programs I could far exceed the capabilities of the Quik App but again, It’s not a skill set I have (yet).
Since we are talking about videos, lets talk about the sound quality of said videos.
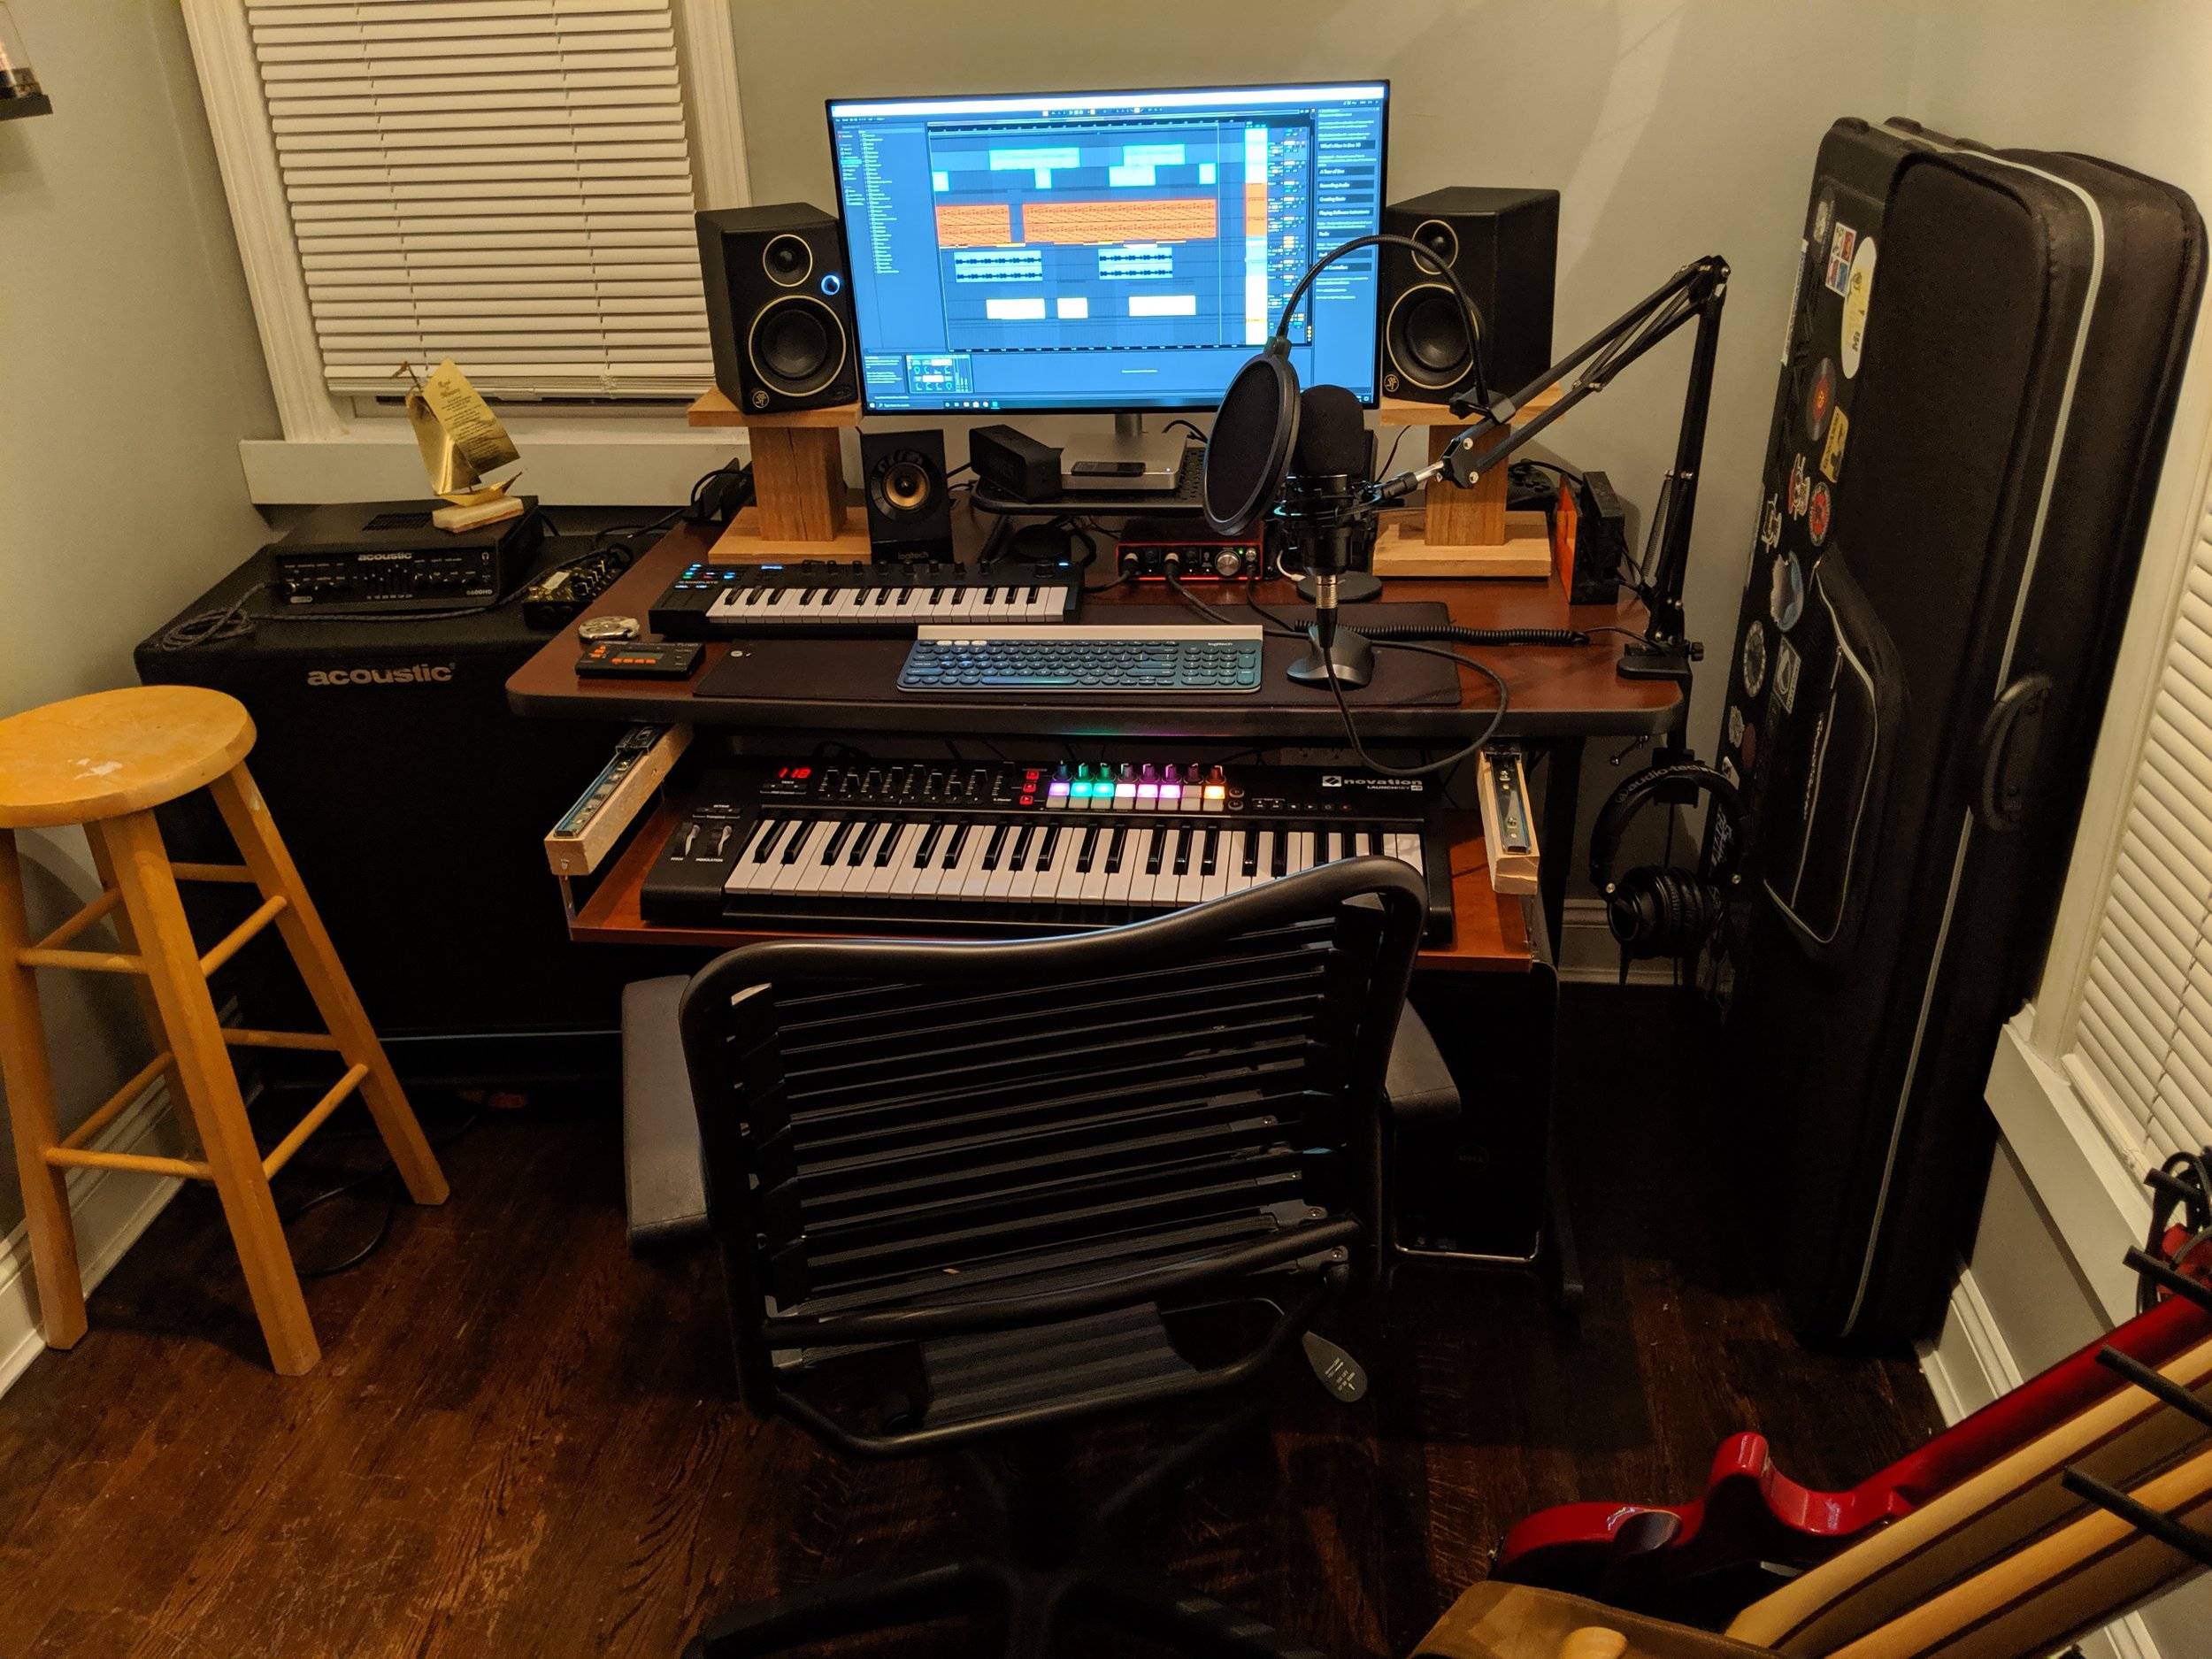
Enhanced Audio for my Videos:
Now I’m in the process of enhancing my home studio. Next items on the list are room treatments to get the best sound possible in this room. Hardwood floors and High ceilings don’t help. In the meantime I did get a shotgun microphone that I can attach to the phone that has helped with sound quality of my videos. I’m happy to have this as it will help with vlogging if I decide to go that route. One really cool thing I just learned recently is that I can plug my Focusrite Scarlett Solo Audio interface directly into my pixel 3 and record audio from it. This took some tinkering and I didn’t find any help guide on the internet that talked about this specific combination, but it works. The phone apparently puts out enough power the interface via usb. Also andriod apparently has drivers for the Interface. Now in my case I found out that the inputs are coming in as mono chanelles. Meaning input 1 is routed to the left speaker and input 2 is routed to the right but I found away to get my bass signal to “sound” like a stereo signal in the recorded video. I’ll have to publish a blog post about that process but I’ll start uploading videos with the finished product.
Now there is a lot more I do with my cell phone. This is just a short list of things I learned in the last few weeks. I didn’t even think about trying to connect the audio interface to the phone until the day of this writing. My phone is used every day from emails to bill pay. I even use the phone for the two-factor authentication process before I can even start my day job.
What do you use your phone for? What other cool things can you do with it?